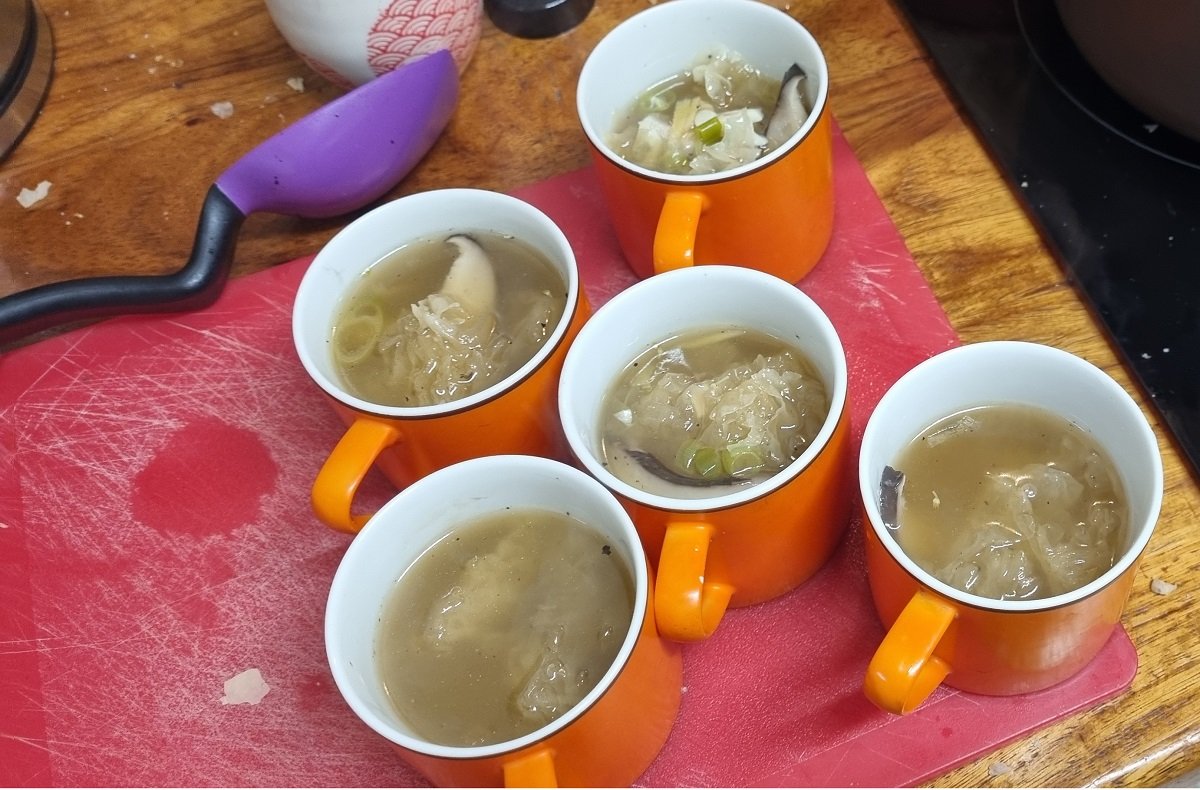
Step by step to making your own skin serum using Snow Fungus
Easy steps to follow to make your own snow fungus skin serum and face mask
The genesis of the ‘skin serum using snow fungus’ episode was our earlier foray into cooking with this beautiful fungus, in Episode 2. Our research threw up lots of recipes using Tremella fuciformis - they weren’t all about eating this mushroom however, many were focused on creating anti-ageing beauty products. Why not, we thought? So, here it is - our journey into making tremella skin serum and a face mask.
Tremella skin serum
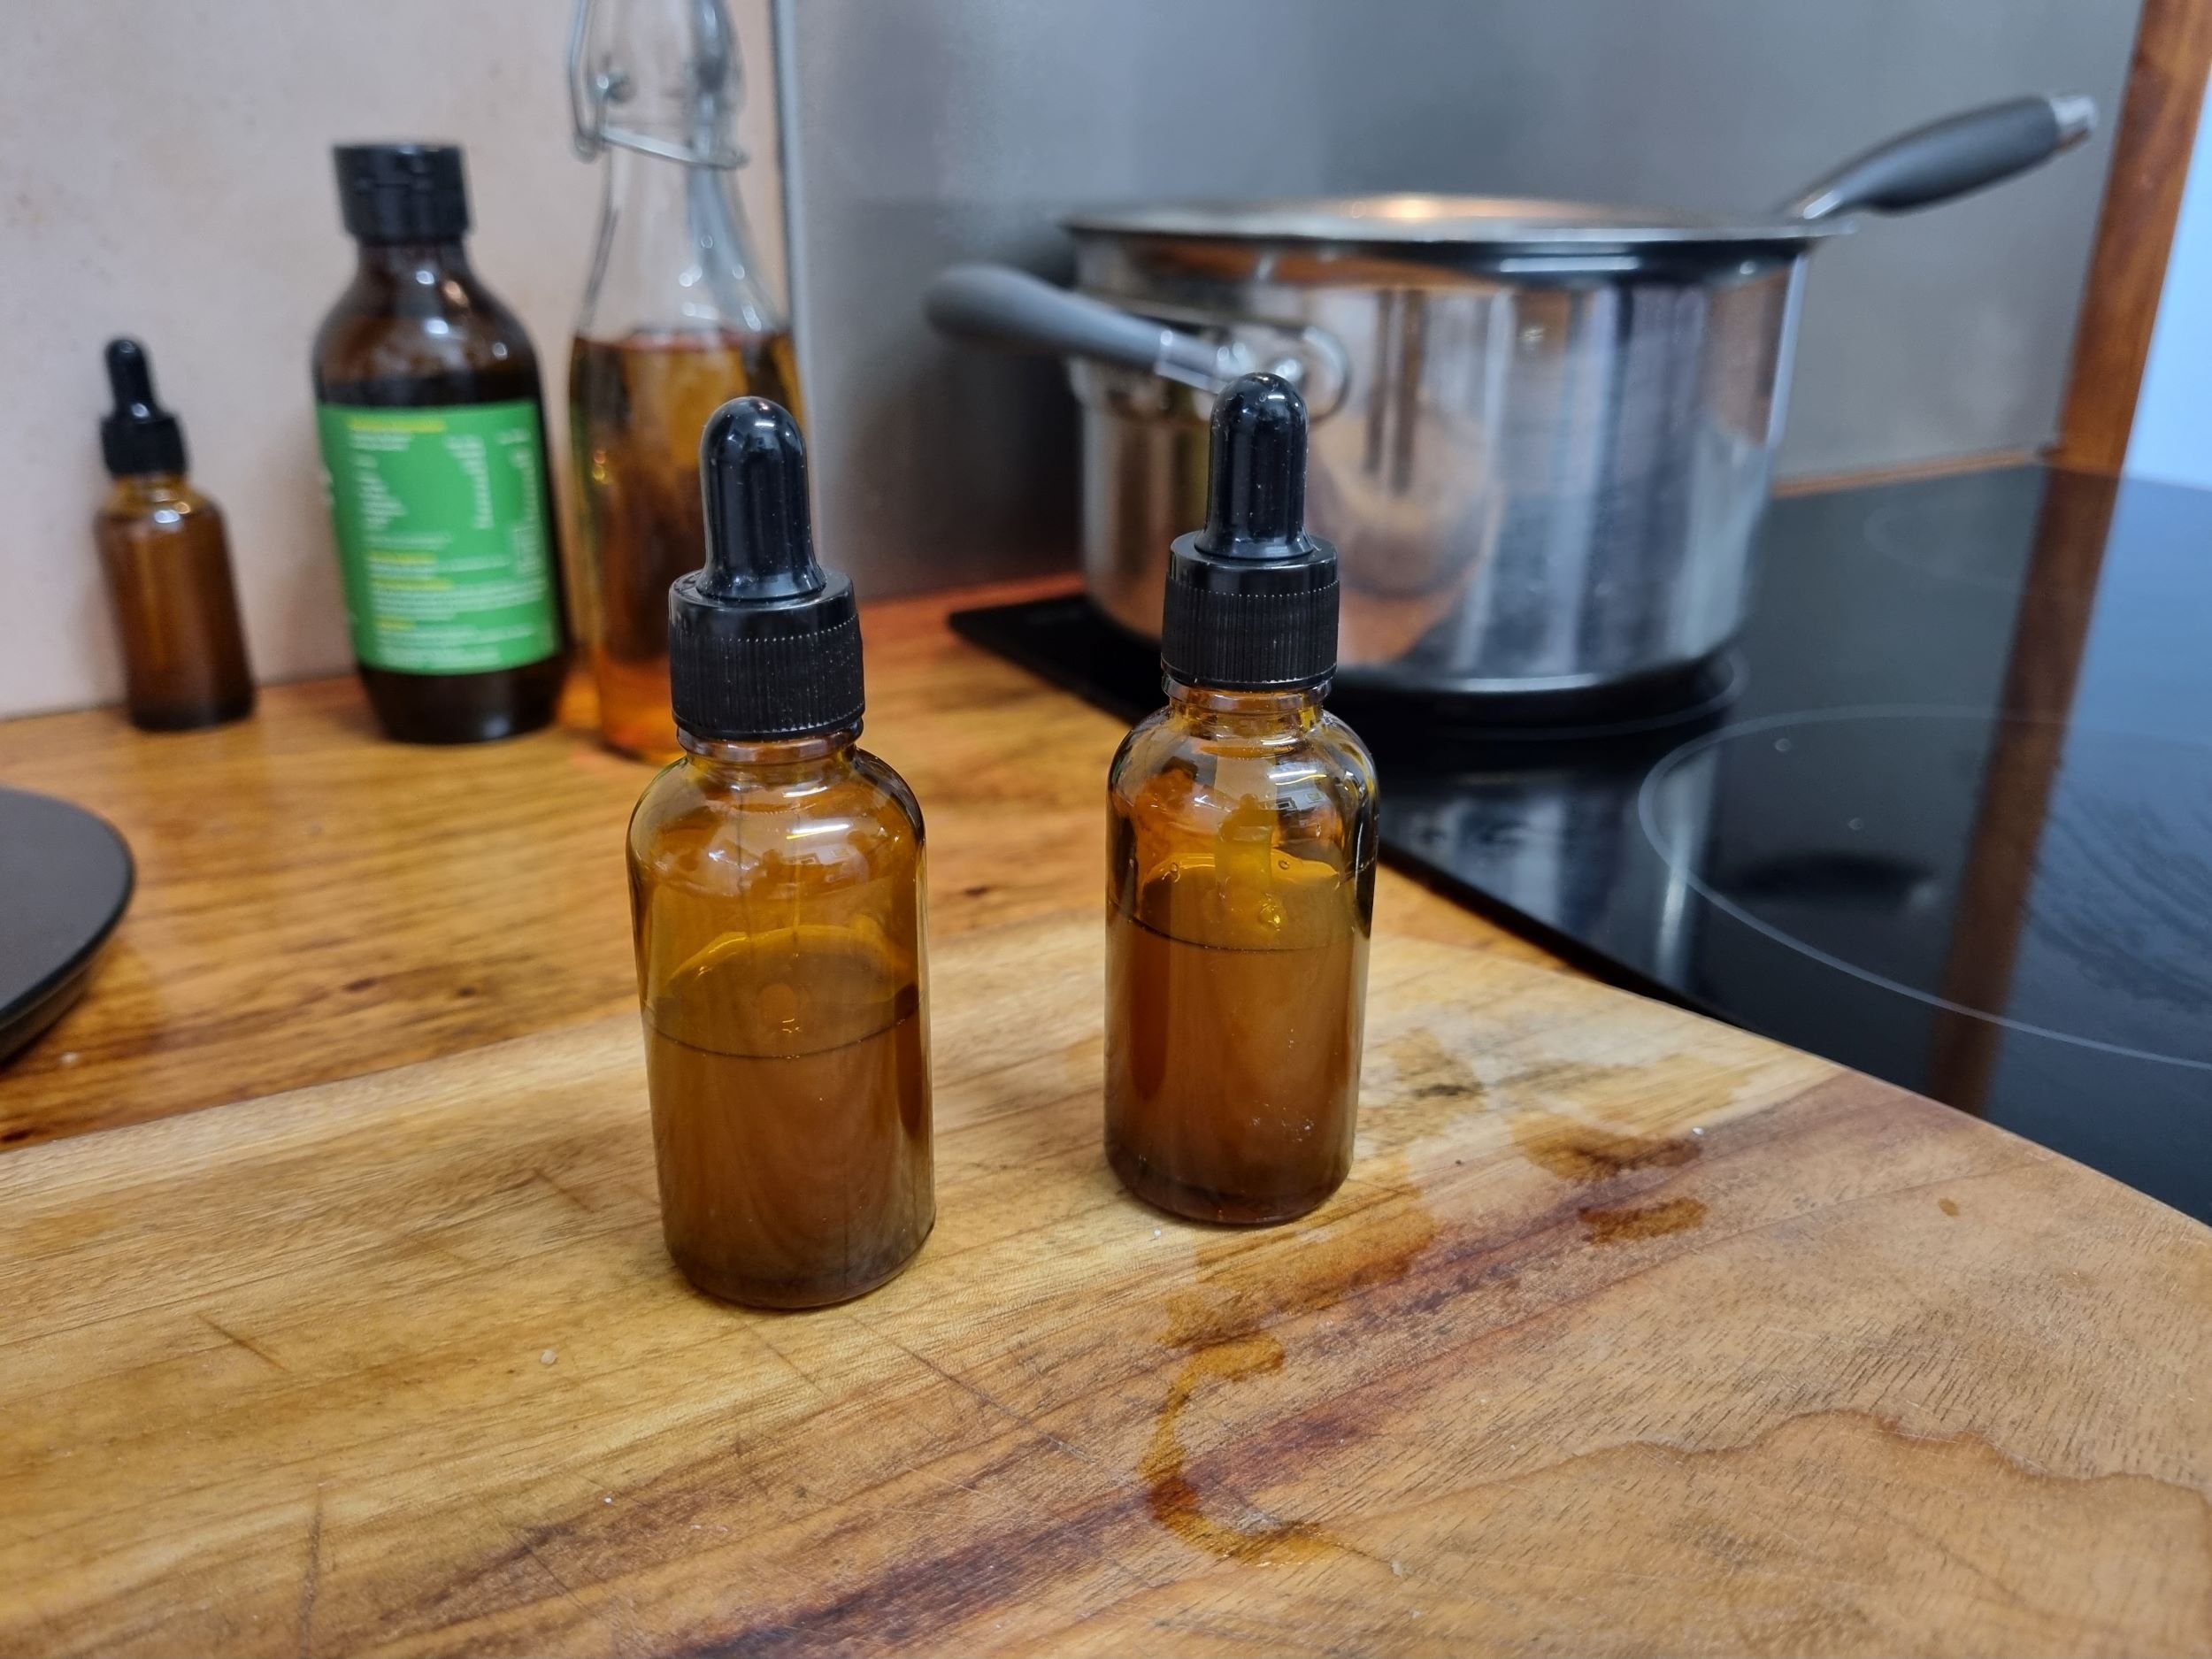
You’ll need some dried snow fungus, saucepan, filtering equipment (sieve, funnel, and coffee filter or similar), and amber dropper bottle. We sourced our snow fungus from an Asian grocery store.
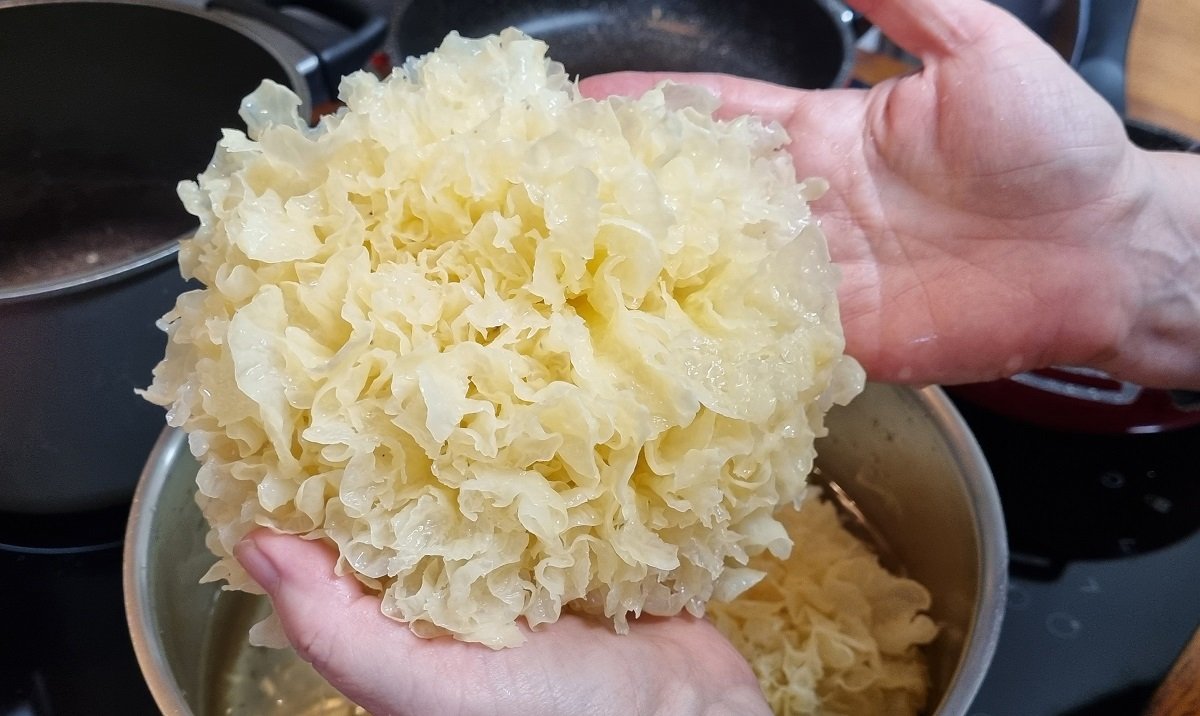
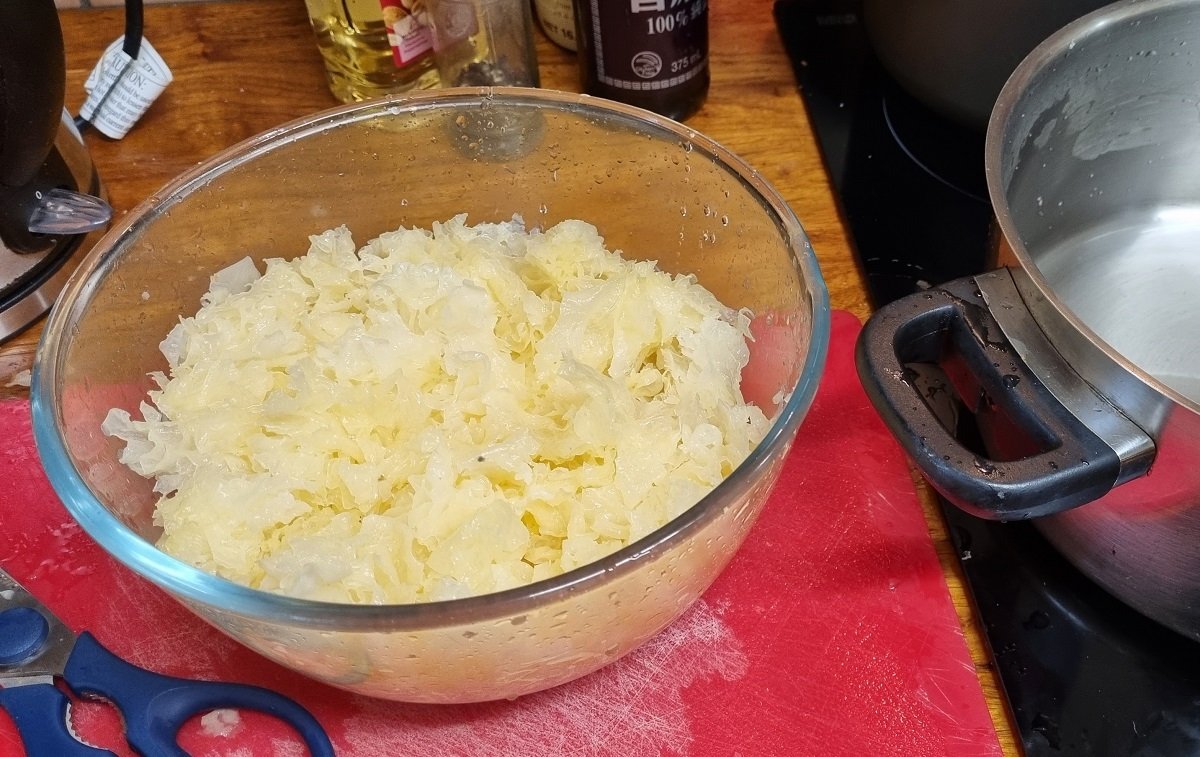
1. Soak and gently massage your Tremella mushroom in filtered cold water (no chlorine) in a bowl to remove any impurities. Rinse and soak a few times until the tremella water is nice and clear.
2. Chop the mushroom into smaller pieces. Cut out the hard centre and discard.
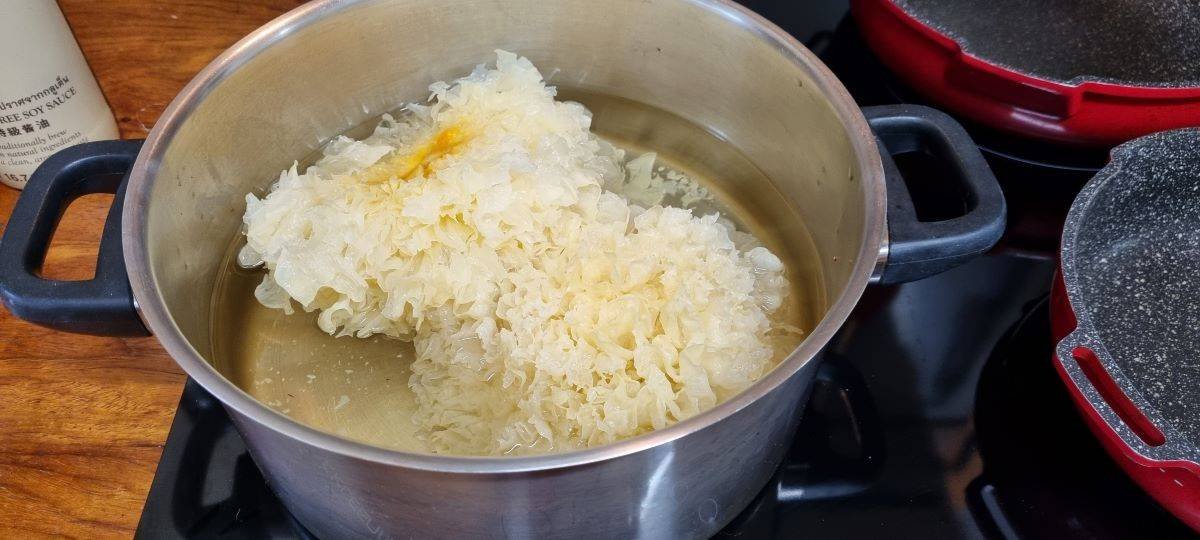
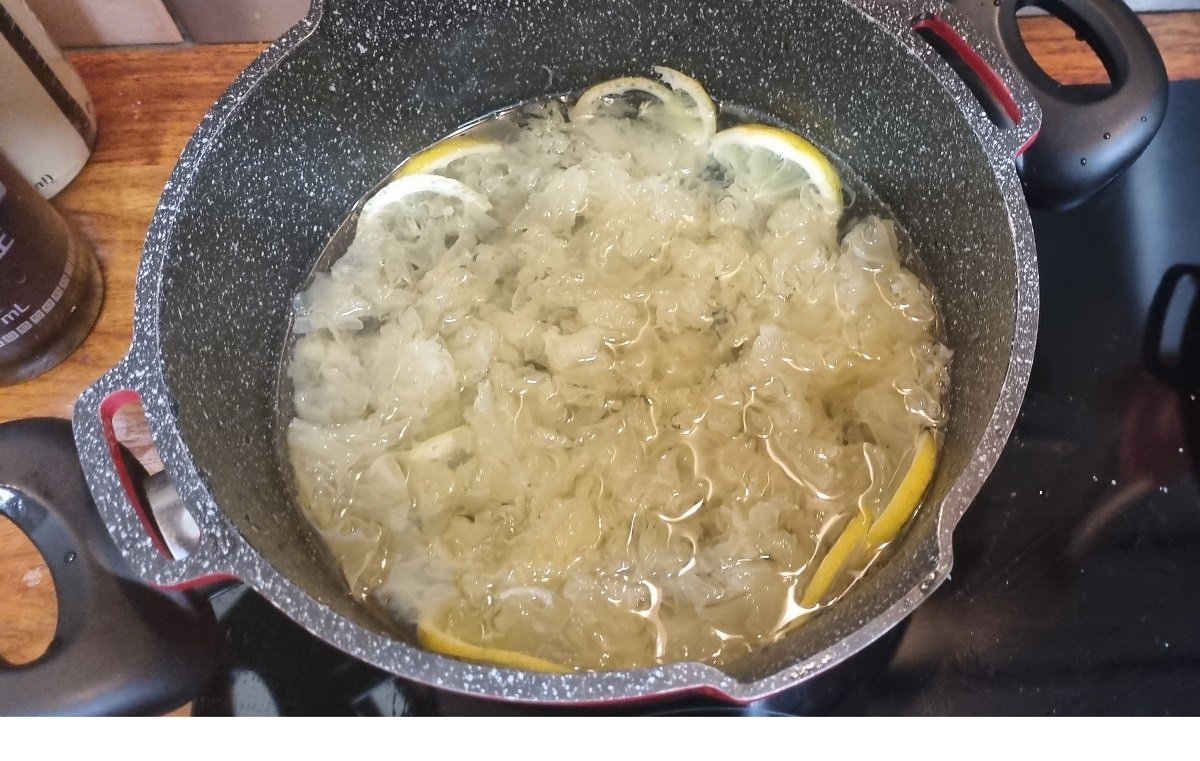
3. Place the clean mushroom in a saucepan and add enough water to cover it and allow it to expand. Put the lid almost on, and simmer for 30 minutes stirring occasionally.
4. Add more water to cover the mushroom as it will take up water during the simmering. Simmer again, without the lid, for another 30 minutes.
5. After 1 hour, filter the mushroom mix through a stainless-steel sieve over a bowl, pushing liquid out of the snow fungus as you go. Discard/compost the mushroom bits, and keep the liquid.
6. Return the bowl of collected liquid to the saucepan, and bring it back to a simmer. No lid. You are reducing the liquid down a long way.
7. After most of the water is evaporated, pour the remaining thick liquid ‘serum’ through a paper coffee filter or similar into a bowl. This is to remove any small mushroom bits that got through the sieve.
8. After solution has been filtered, pour it into a dropper bottle. Now it’s ready to use as a serum on your face.
9. If desired, you could add a small amount of your favourite medicinal mushroom tincture to the serum. We added some home-made reishi tincture – extra ‘ooomph’ for our beauty serum! A recipe for DIY reishi tincture is in the previous blog post.
You can store bottles in the fridge. Use your serum within a couple of weeks though, as the bottle and dropper are not sterile and there are no preserving agents added.
Making a face mask!
You’ll need rice paper sheets, vegetable glycerine, filtered water, and your Tremella serum.
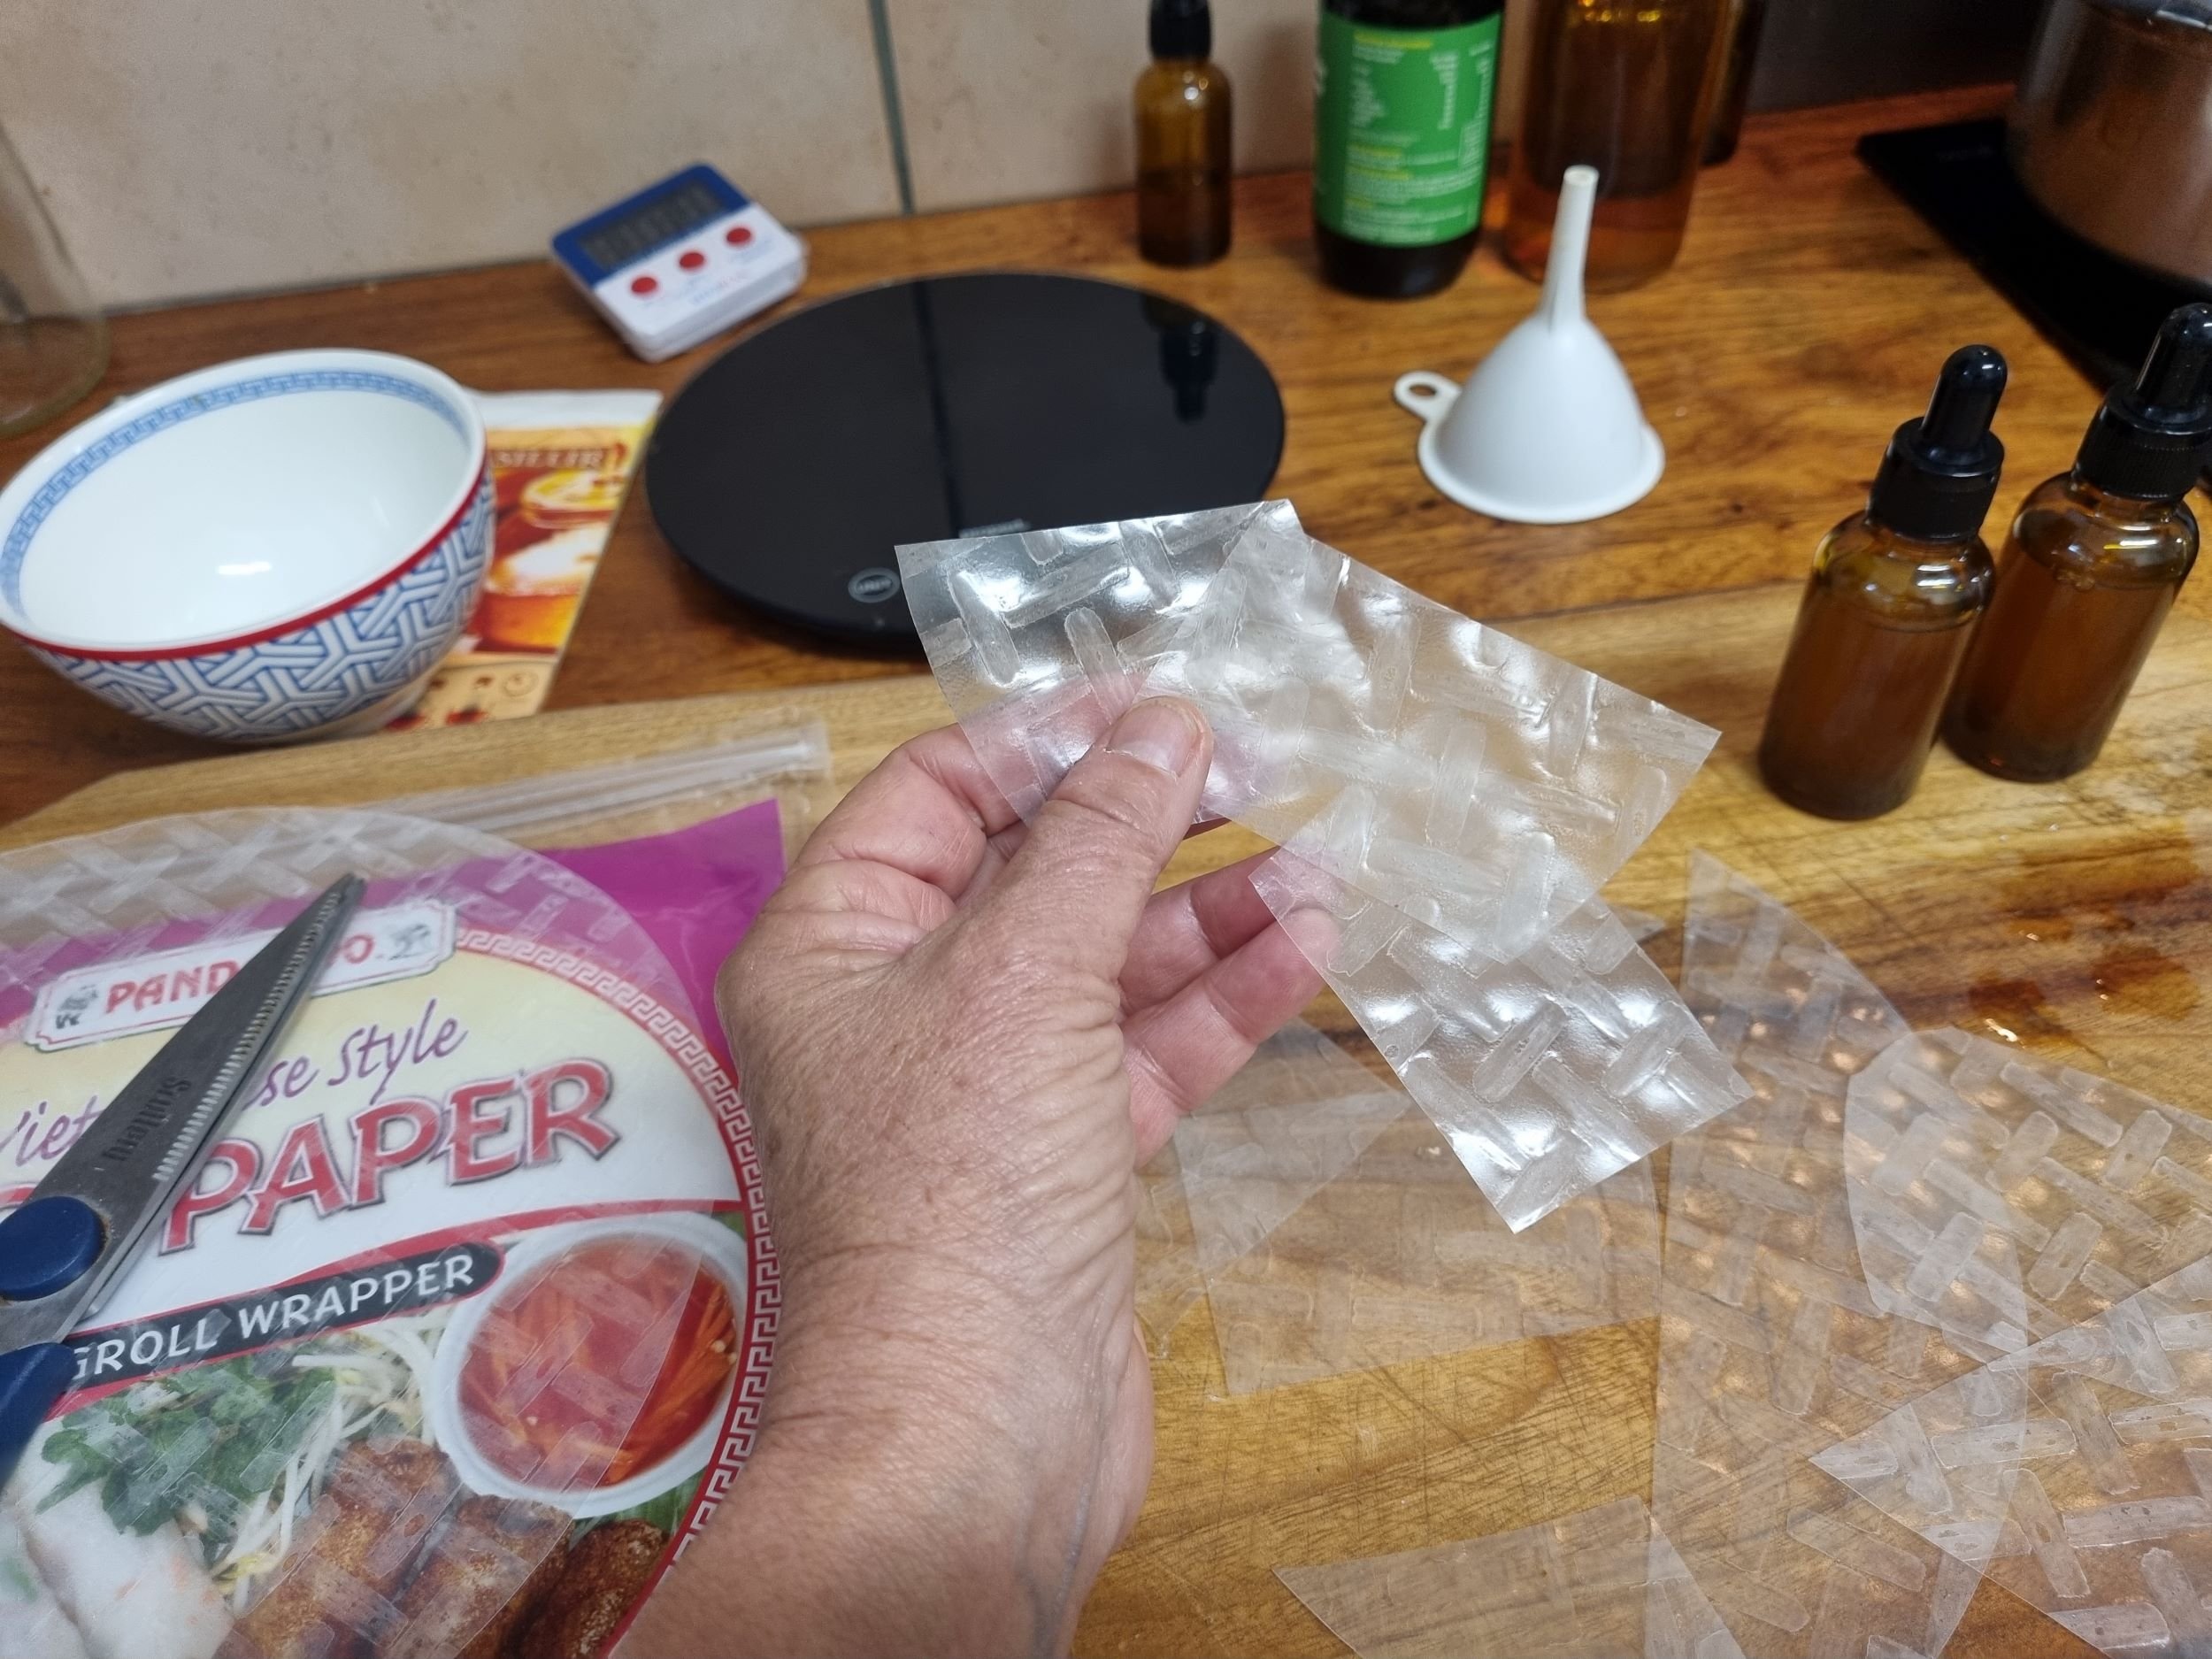
Get rice paper sheets, and cut them into squares – you’ll be placing the squares on your face once they are soaked, so imagine how many you will need. And what shapes.
Transfer some serum into a small bowl and add your other ingredients. The ratio to use is equal parts of all three: say, one tablespoon serum, one tablespoon of vegetable glycerine, and one tablespoon of water. Mix together.
Place the rice sheets into the liquid and when soft, place them all over your face and rub any excess serum into your skin.
Leave for a while. Then enjoy that satisfying feel of peeling them off to reveal your glowing nourished face!
Step by step to making your own Reishi Tincture
Easy steps to follow to make your own reishi tincture
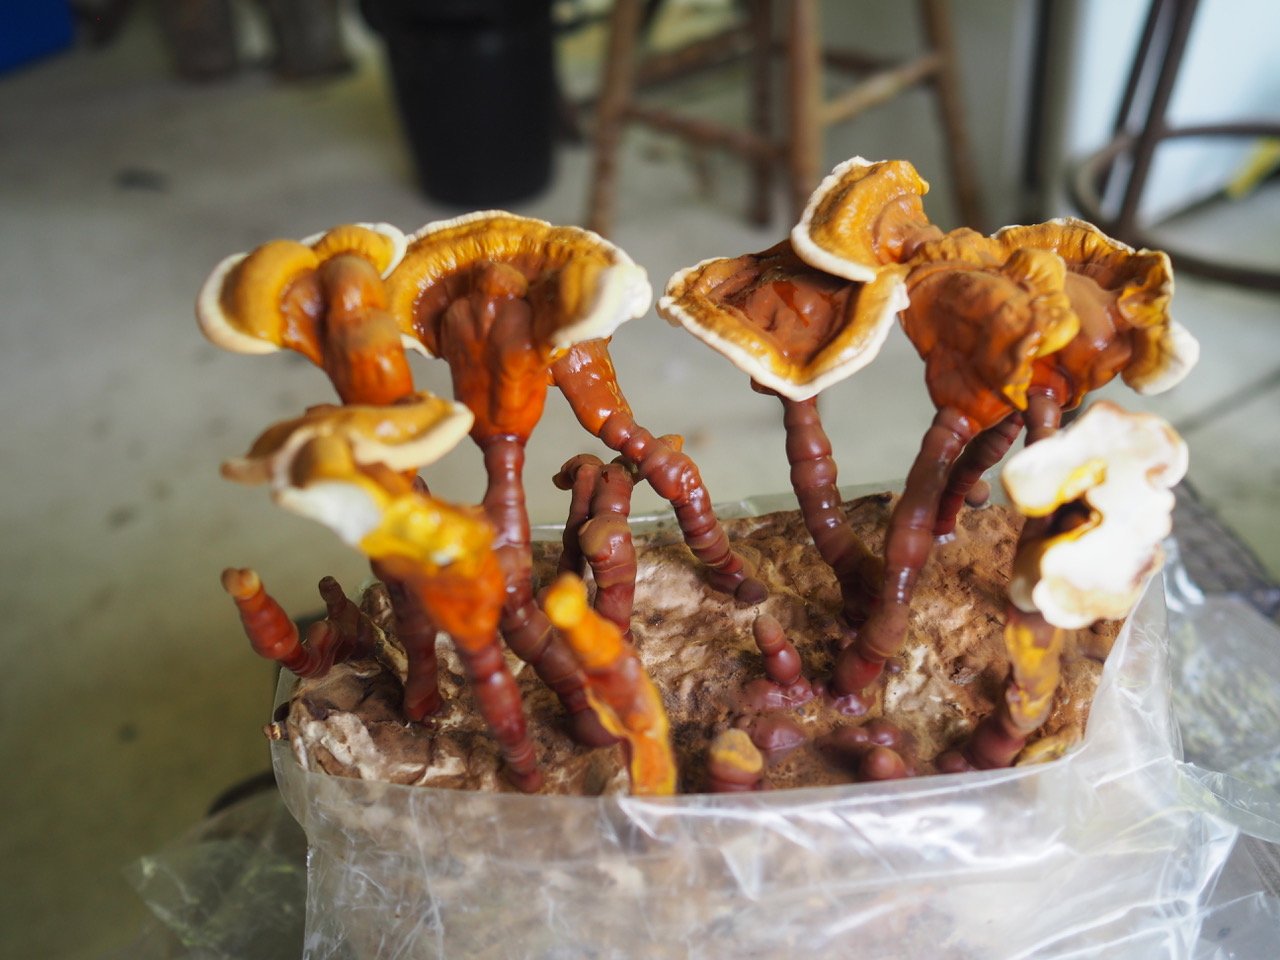
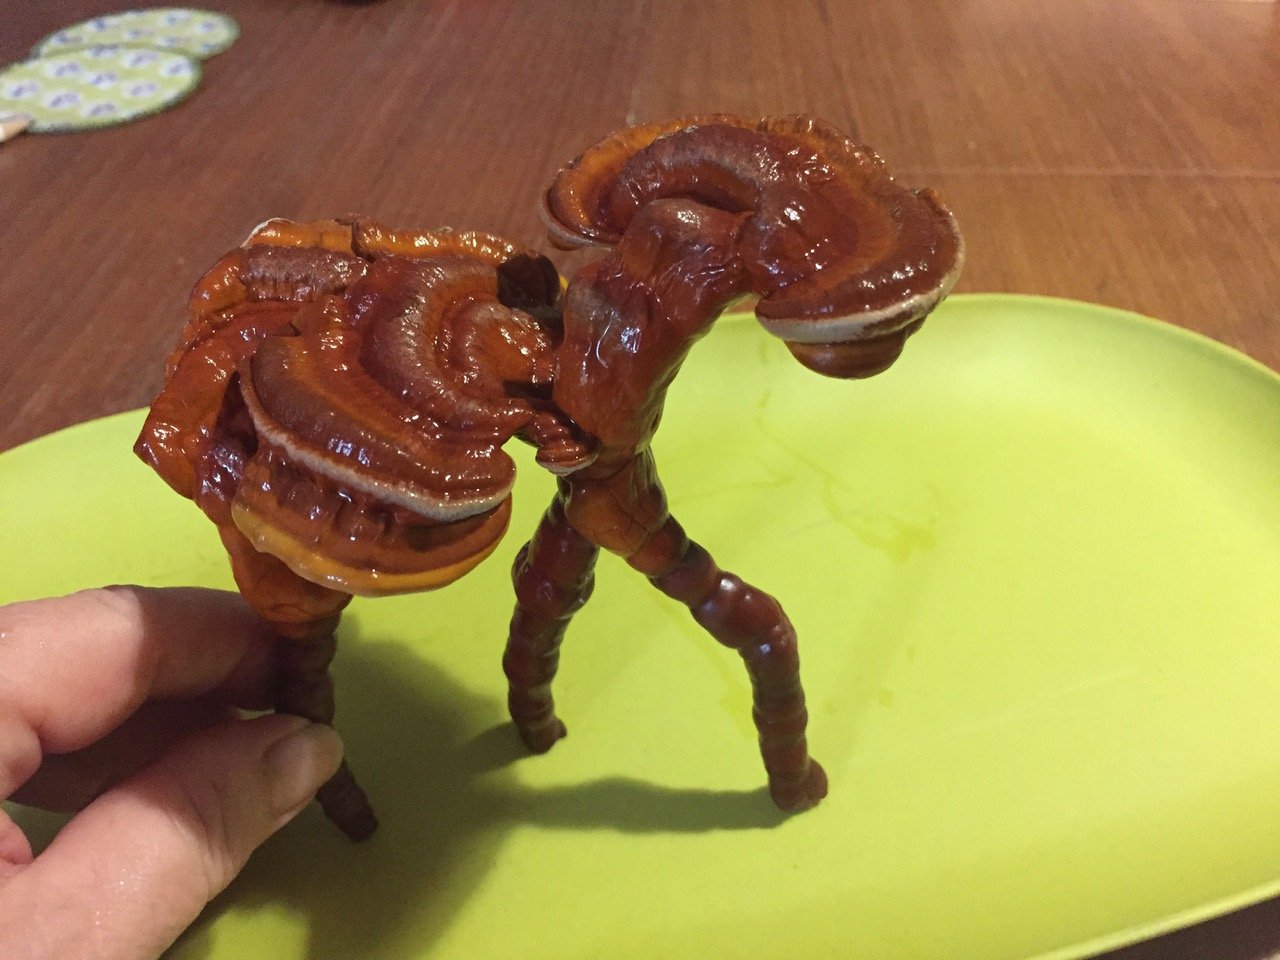
The Reishi mushroom (Ganoderma lucidum) is one of the medicinal mushrooms that have been used for hundreds of years in many Asian countries to promote health and longevity. Potential uses and benefits include strengthening the immune system, reducing stress and fatigue, lowering cholesterol, and more. There is some scientific evidence of its effectiveness, and reishi supplements are now commercially available including as capsules, tablets, extracts / tinctures, powders, and teas.
Personally, we make reishi tincture to take orally, as a daily health supplement. During our research into the uses of Tremella fuciformis we came across the idea of combining medicinal tinctures such as reishi with the wonderful skin-support properties of the Tremella mushroom. Listen to our short Episode 8 where we describe how we make reishi tincture, and then Episode 9 where we add the tincture to our home-made Tremella skin serum.
WARNING: As with any dietary remedy or supplement, you should consult your healthcare providers before you consume medicinal mushrooms, whatever form they come in.
References:
Stamets, Paul. 2005. Mycelium running: how mushrooms can help save the world. Ten Speed Press, Berkeley, California
Stamets, Paul 2000. Growing gourmet and medicinal mushrooms. Third edition. Ten Speed Press, Berkeley, California
Ganoderma lucidum (Lingzhi or Reishi) A Medicinal Mushroom Ganoderma lucidum (Lingzhi or Reishi) - Herbal Medicine - NCBI Bookshelf (nih.gov)
Reishi Mushroom | Memorial Sloan Kettering Cancer Center (mskcc.org)
Aussie Mushroom Supplies - an Australian stockist of ready-to-grow kits, agar plates, mushroom spawn, preserving supplies, mushroom supplements etc.
Making a Reishi Mushroom tincture using double extraction
We followed a ‘double extraction’ method to make our tincture – an alcohol extraction stage followed by a water extraction stage. This two-step process is recommended to maximise the medicinal benefits of reishi (and other medicinal mushrooms) because these mushrooms contain water-soluble components known as polysaccharides and alcohol-soluble components known as triterpenes. The instructions below are based on a recipe found here: How to make a reishi mushroom tincture.
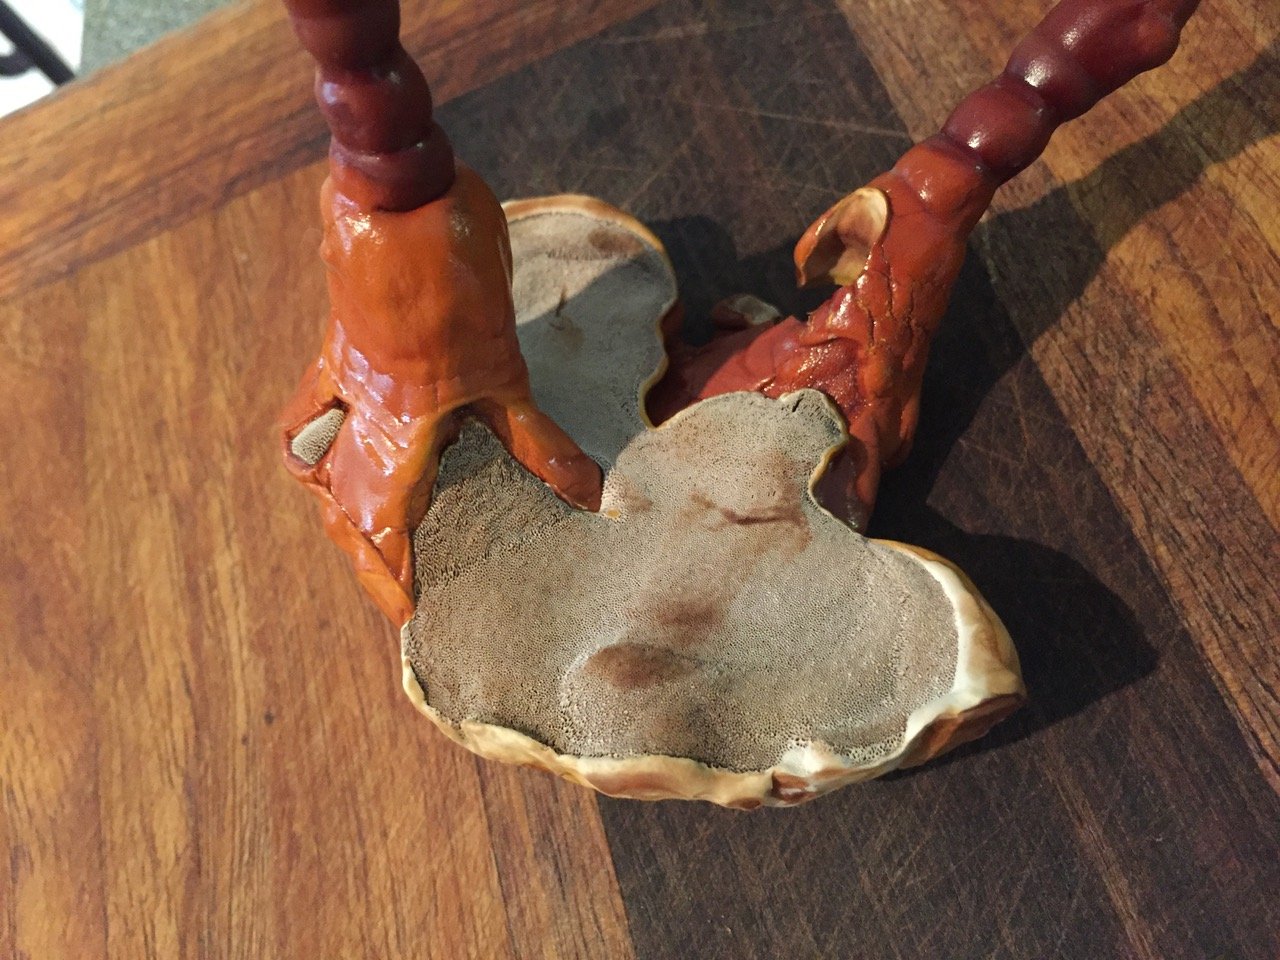
For the alcohol extraction stage, you’ll need pieces or slices of reishi mushrooms. We’ve used fresh Australian Reishi - Ganoderma steyaertanum – from a grow-your-own kit, obtained from Aussie Mushroom Supplies. And we’ve also used dried Australian Reishi obtained online from an Australian stockist. You’ll also need a bottle of 80 proof alcohol, such as vodka. And, filtered chlorine-free water.
For the water extraction stage, you’ll need a sterilised Mason jar or similar, big enough for your batch of reishi with room to spare. A saucepan. Filtering equipment: funnel and mesh or cheesecloth strainer. And amber tincture bottles for storing the tincture.
Steps in the process
Fill your jar about halfway to two-thirds with the reishi pieces. The mushrooms will expand when soaked, and need a bit of extra space.
Cover the mushrooms with 80 proof alcohol (we used vodka) filling the jar to within an inch of the top rim, and place the lid on.
Let the mixture extract for 4 to 6 weeks. Ideally, it should be kept in a cool dark location like a pantry. To maximize extraction, shake the jar as often as you remember (daily would be good).
Then strain the contents through a fine-mesh strainer and set the alcohol aside. Measure how much alcohol extract you had remaining and make a note of it as you will adjust your water extract accordingly.
Place the strained reishi into a saucepan, and add about 8 cups of water for every 2 cups of mushrooms. Simmer the reishi on low for 2 hours, keeping an eye on the water level. Do not let it boil dry.
The water extract should be reduced to about 1/3 of the quantity of alcohol extract. For example, if your strained alcohol extract was a total of 3 cups, you’ll want to reduce your water extract to 1 cup. This 3 to 1 ratio will ensure that your final extract has a high enough alcohol percentage to be shelf-stable.
Let sit until the liquid is cool enough to handle. Strain the reishi using a fine filter or cheesecloth, squeezing out the liquid from the mushrooms. The reishi’s job is done and you can compost the reishi pieces. Keep the strained water!
Now, slowly add the alcohol extract to the water extract. Not the other way around. Store in a glass container and in a dark place.
The dosage for taking reishi tincture is generally considered to be 1 full dropper per day.
Mushroom extracts such as reishi tincture will keep in a cool, dark place for about one year.
Step by step to growing your own oyster mushrooms
Easy steps to follow to grow your own oyster mushrooms!
Materials
Substrate (growing medium) used here and pictured below, is based on paper pellet kitty litter with scrap paper, spent coffee grounds and water.
There’s a couple of advantages to using the pellets, especially when you’re just starting out on your mushroom-growing adventure. Firstly, the quantities are easily measurable – you weigh out 400g of pellets for every 600 ml of water. Secondly, the pellets are close to sterile so you don’t have any competing strains of mould/fungi in your mix.
When you get a feel for the technique, you can substitute scrap paper and cardboard for the pellets. You’ll need to add enough water so a drop can be squeezed from a handful of the mixture. Too soggy or too dry and the fungi won’t grow.
The inoculant (the mushroom ‘starter’) used here is some tan oyster mushrooms grown from a kit. These grew when I was away for a couple of weeks so were dried when I picked them. I tore them into smallish pieces and included some paper towel used to wipe up the white dusty layer of spores produced by the sporocarps (fruiting bodies).
You could use fresh oyster mushrooms from a local grower, farmer’s market etc. They’re likely to have viable growing material. Supermarket strains may be sterile. Trim the ends off the stipes (stem butts) and use them for your inoculant (and eat the rest, of course). If you have a spent oyster mushroom kit you can break up pieces of the growing block and use that as your inoculant. A couple of handfuls should be enough – more starter means faster colonisation of your substrate and earlier harvest!
The spent coffee grounds should be no older than 48 hours so there’s no other mould growing on them. A few handfuls is enough – this is added nutrient for the fungi. You can also use tea leaves.
Quantities
600 ml water (rainwater is best) for every 400 grams of paper pellets
Scrap paper/cardboard – a few handfuls
Spent coffee grounds – a few handfuls
Mushroom inoculant/starter (oyster mushroom pieces, spores or used mushroom kit) – a few handfuls. More starter = faster colonisation of the substrate.
Method
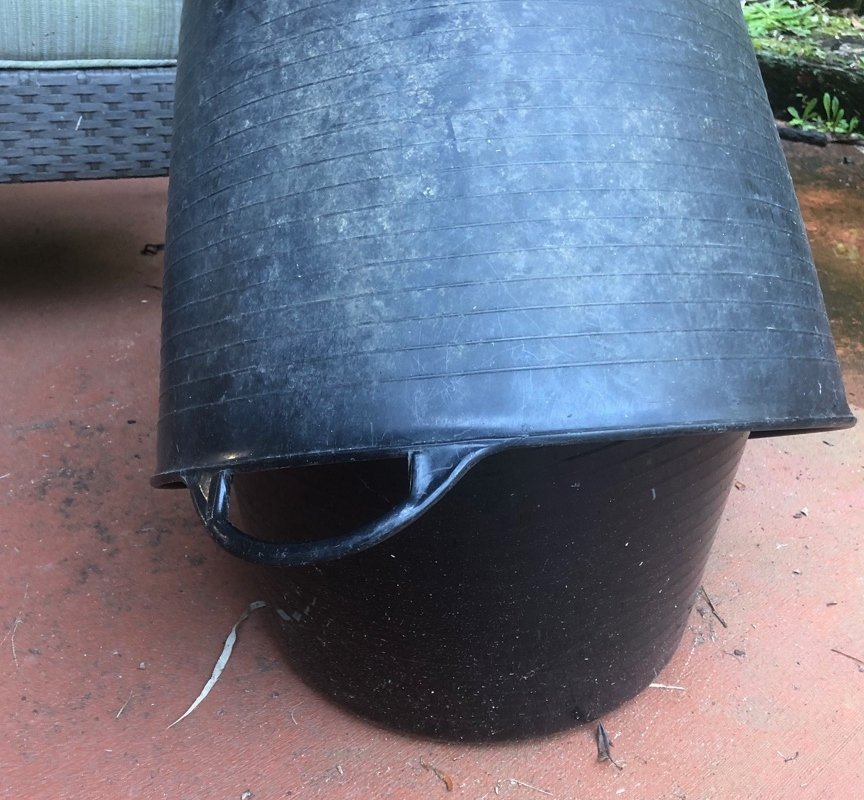
Add water (rainwater is best) to paper pellets in a bucket and mix well (use your hands or a big spoon). Rip up scrap paper and cardboard – a couple of handfuls – and mix that through with a couple of handfuls of spent coffee grounds. Add your inoculant and mix well. Put a lid on your bucket but not air-tight – your mushrooms need air.
Several times a day, lift the lid and give the mixture a fine spray of water (a little garden spray bottle is ideal). You should start to see some mycelium growth – fine, white and fuzzy – after five or six days. Keep checking and misting. After a few weeks you should see ‘pinheads’ or baby mushrooms. These will grow quickly and you’ll be harvesting in a couple of days. Gently twist and pinch off the mushrooms from the growing mix.
You may get several more flushes of mushrooms from your bucket – keep checking and misting the mix. Our second flush happened ten days after the first harvest. See images below.
Growing conditions
Our oyster mushrooms were grown during subtropical winter with temperatures ranging from 9 to 27 degrees Celsius. Different strains of oyster mushrooms thrive in different temperature ranges – Pink oysters tolerate higher temps while king oysters prefer the cool. Temperatures in the mid-twenties seem to suit most.
Oyster mushrooms don’t need complete darkness – their natural habitat is a forest, so filtered light is fine. Lifting the bucket lid to let in light while you’re misting your mushrooms seems to work too.
The Spider in the Room
Chuffed to see a huntsman spider had made her home in the mushroom bucket (see image 10). She’ll be eating the fungal gnats/vinegar flies – the flies don’t really do much harm but they can introduce mould or competing fungi. So, welcome!


