Step by step to growing your own oyster mushrooms
Materials
Substrate (growing medium) used here and pictured below, is based on paper pellet kitty litter with scrap paper, spent coffee grounds and water.
There’s a couple of advantages to using the pellets, especially when you’re just starting out on your mushroom-growing adventure. Firstly, the quantities are easily measurable – you weigh out 400g of pellets for every 600 ml of water. Secondly, the pellets are close to sterile so you don’t have any competing strains of mould/fungi in your mix.
When you get a feel for the technique, you can substitute scrap paper and cardboard for the pellets. You’ll need to add enough water so a drop can be squeezed from a handful of the mixture. Too soggy or too dry and the fungi won’t grow.
The inoculant (the mushroom ‘starter’) used here is some tan oyster mushrooms grown from a kit. These grew when I was away for a couple of weeks so were dried when I picked them. I tore them into smallish pieces and included some paper towel used to wipe up the white dusty layer of spores produced by the sporocarps (fruiting bodies).
You could use fresh oyster mushrooms from a local grower, farmer’s market etc. They’re likely to have viable growing material. Supermarket strains may be sterile. Trim the ends off the stipes (stem butts) and use them for your inoculant (and eat the rest, of course). If you have a spent oyster mushroom kit you can break up pieces of the growing block and use that as your inoculant. A couple of handfuls should be enough – more starter means faster colonisation of your substrate and earlier harvest!
The spent coffee grounds should be no older than 48 hours so there’s no other mould growing on them. A few handfuls is enough – this is added nutrient for the fungi. You can also use tea leaves.
Quantities
600 ml water (rainwater is best) for every 400 grams of paper pellets
Scrap paper/cardboard – a few handfuls
Spent coffee grounds – a few handfuls
Mushroom inoculant/starter (oyster mushroom pieces, spores or used mushroom kit) – a few handfuls. More starter = faster colonisation of the substrate.
Method
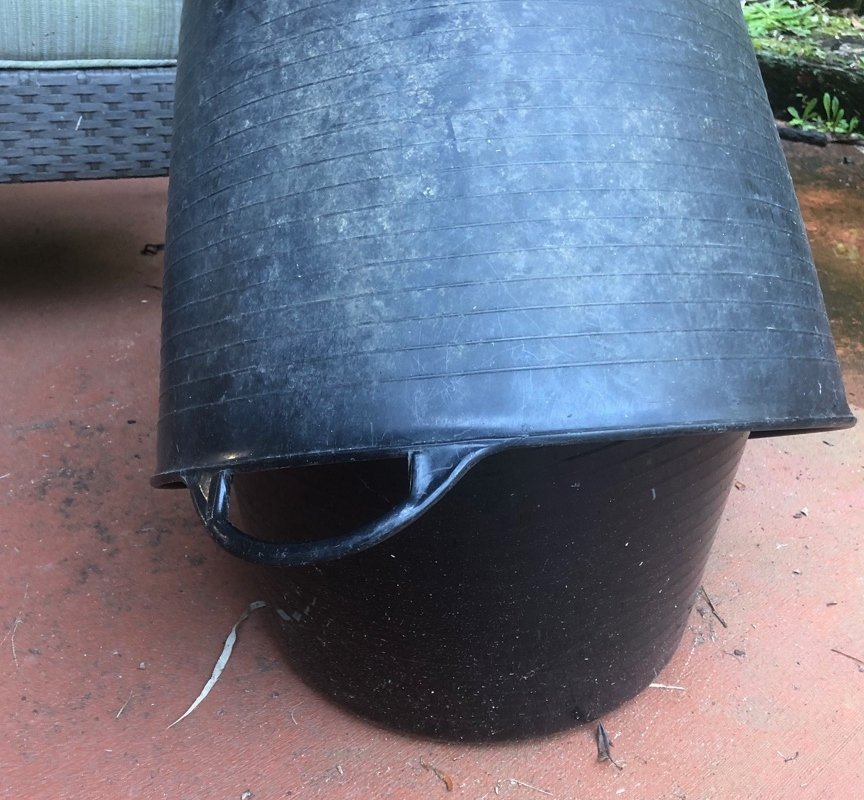
Add water (rainwater is best) to paper pellets in a bucket and mix well (use your hands or a big spoon). Rip up scrap paper and cardboard – a couple of handfuls – and mix that through with a couple of handfuls of spent coffee grounds. Add your inoculant and mix well. Put a lid on your bucket but not air-tight – your mushrooms need air.
Several times a day, lift the lid and give the mixture a fine spray of water (a little garden spray bottle is ideal). You should start to see some mycelium growth – fine, white and fuzzy – after five or six days. Keep checking and misting. After a few weeks you should see ‘pinheads’ or baby mushrooms. These will grow quickly and you’ll be harvesting in a couple of days. Gently twist and pinch off the mushrooms from the growing mix.
You may get several more flushes of mushrooms from your bucket – keep checking and misting the mix. Our second flush happened ten days after the first harvest. See images below.
Growing conditions
Our oyster mushrooms were grown during subtropical winter with temperatures ranging from 9 to 27 degrees Celsius. Different strains of oyster mushrooms thrive in different temperature ranges – Pink oysters tolerate higher temps while king oysters prefer the cool. Temperatures in the mid-twenties seem to suit most.
Oyster mushrooms don’t need complete darkness – their natural habitat is a forest, so filtered light is fine. Lifting the bucket lid to let in light while you’re misting your mushrooms seems to work too.
The Spider in the Room
Chuffed to see a huntsman spider had made her home in the mushroom bucket (see image 10). She’ll be eating the fungal gnats/vinegar flies – the flies don’t really do much harm but they can introduce mould or competing fungi. So, welcome!


